Consultants - This is a free project. Feel free to share it with your customers and/or direct them here to my blog, but please do not charge them, other than printing charges for the tutorial. Thank you.
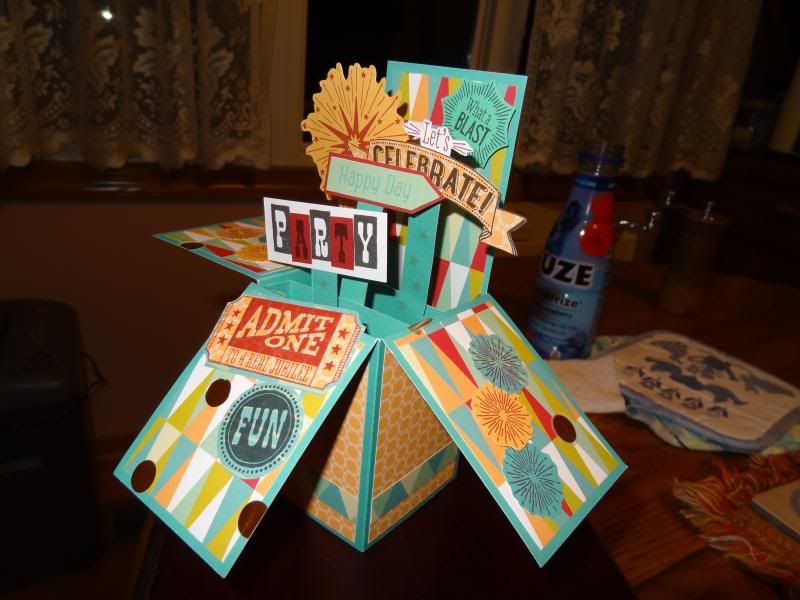
Free to be
Me Box Card Project
Created by
Janice Schmidt, CTMH Consultant
Paper - leftovers from the
"Free to be Me" paper pack.
Cut all the pieces to do Corporate's Workshop, including layouts and
cards, first. Save ALL the scraps, even the
little ones!!
From the triangle/orange dots
B&T you will need :
** CUT
FIRST** (a) ONE 6 3/4h X 2
1/4w inches with the triangles going up and down [Piece A] and
THREE 3h x 2.25w inches with triangles going up and down. The tall piece can be shorter but should be 4 inches minimum, the
taller, the better.
(b)
ONE 6 3/4 x 2 1/4 inches (this can be pieced if you can't cut it quite that
tall, 4 inches minimum,
then additional piece to make total 6 3/4 inches) [Piece B] and THREE 3 1/4 x 2 1/4 inches. The
orange circle side will be used for these pieces so orientation doesn't
matter.
(c)
any remaining scraps of this B&T
Scraps from the blue twiggy
B&T, Orientation doesn't matter, one
must be at least 2 1/2 x 1 1/4,
WHITE DAISY cardstock, 1 x 2 1/4,
and scrap 3 1/2 x 2
LAGOON cardstock, 10 1/2 x 7 3/4
inches, and 2 x 4 inches, and one or two scraps 1 1/2 inch square
RUBY cardstock, 5/8 x 2 1/4
inches and scrap 1 x 2 inches
CREME BRULEE cardstock 3 x 2 1/4
inches, and scrap 4 inch square
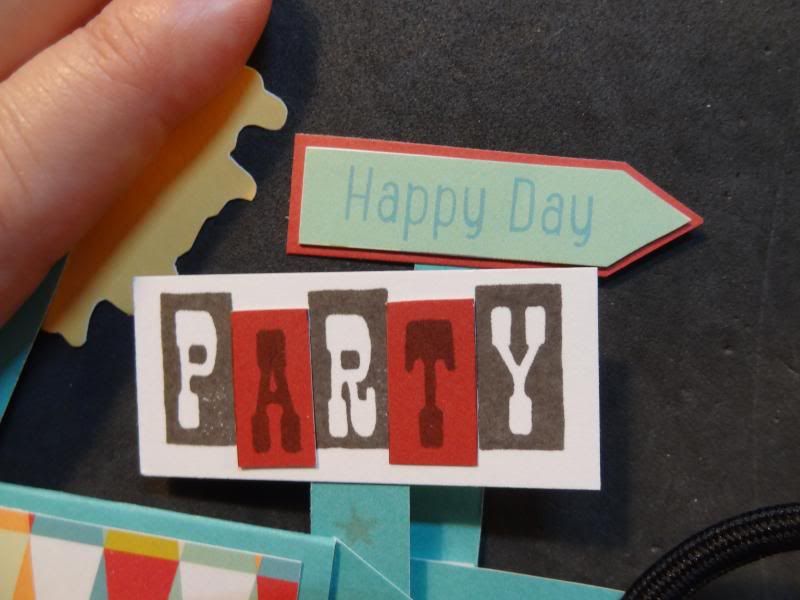
"Happy Day" from the
Zip Strip
FOUR 2 1/4 inch pieces from the Blue/green
triangle Zip Strip
Gold dot vellum, ALL scraps
Stamp sets - June SOTM S1406 Kaboom and Artiste Collection Birthday D1529
Black, Creme Brulee, and Ruby ink
pads
Trimmer
Embossing stylus (or whatever you use to score)
Bone Folder
Scissors
Foam tape
Adhesive for 3D item
1.Using Creme Brulee ink,
random stamp small star over LAGOON 2x4 piece. Cut into FOUR
1/2 x 4 inch strips.

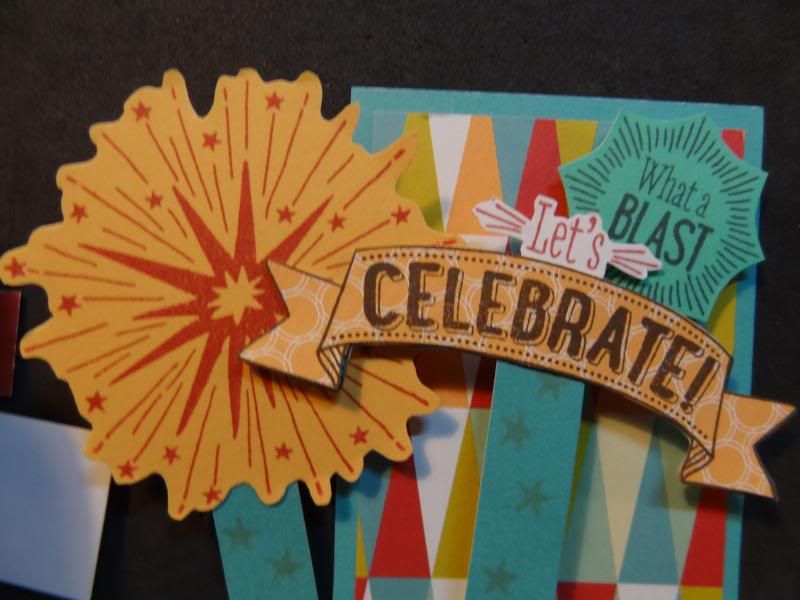
2. Using RUBY ink, stamp
a) large
starburst and TWO small starbursts on 4
x 4 CREME BRULEE scrap, cut out
b) 'Let's Celebrate' banner on WHITE DAISY 3
1/2 x 2 scrap, cut out
c) 'Admit One' ticket on scrap orange circle B&T, cut out. Adhere to twiggy B&T and cut, leaving small
margin.
d) ONE
small starburst on scrap orange circle B&T
e)
'What a Blast' on scrap DREAM POP green cardstock, plain side. (Alternate, JUNIPER
cardstock or scrap twiggy B&T)
f)
'Birthday Wishes' banner on matching
WHITE DAISY Cricut Artiste shape (pg 76, 2 inches)
g)TWO small starburst on twiggy
B&T

3. Using BLACK ink, stamp
a)
'Let's Celebrate' banner on scrap orange circle B&T, cut out banner only
and adhere to WHITE DAISY
stamped piece.
b) '
PARTY', once on WHITE DAISY 1 x 2 1/4,
and once on RUBY scrap, cut out the A and the T from RUBY cardstock and layer, slightly lower than
original 'A' and 'T' for a staggered look.
(See photo, 2nd below.)
c)
'FUN' on twiggy B&T scrap

.
5. Cut as many gold dots from vellum as desired, including
any partial dots.
6. Score LAGOON cardstock at 2.5, 5, 7.5 and 10 inches. Turn and score at 3.75 inches. Trim 3/4 inch from the top of one long side,
leaving 3.75 below the score line (the bottom of the card) and 3.25 above the
score line (the top of the card). Cut
TWO pieces from this 3/4 inch strip which include a flat 2.5 inch section with
two 1/2 inch or so 'wings.'
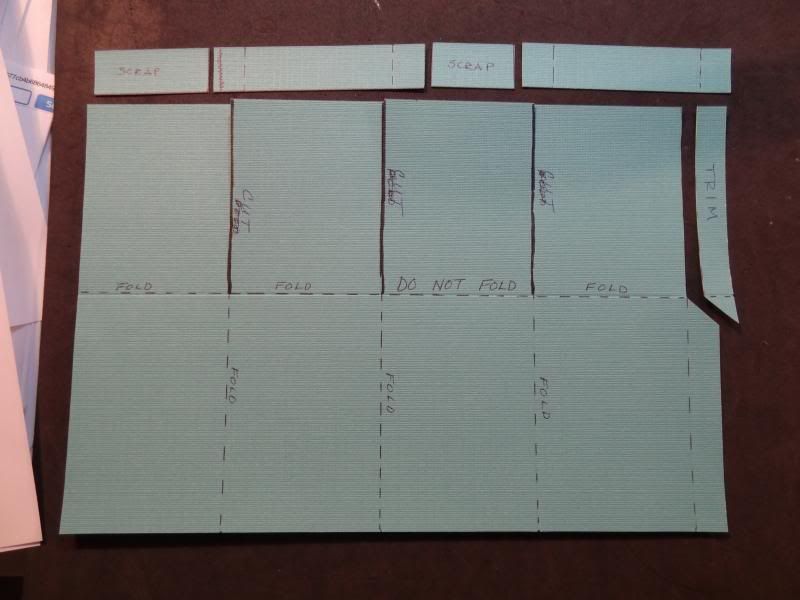
7. Cut along score lines on the 3.25 section. Trim as shown above to create a tab for joining the
box together.
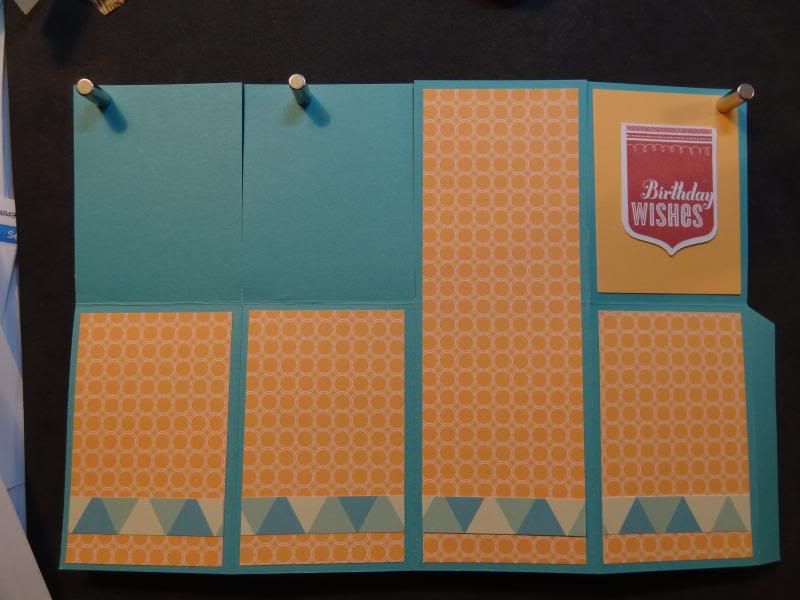
8. Adhere the
B&T, Creme Brulee, and zip strip
pieces as shown, covering any seams in
the longer B&T [Piece B].
Piece A goes on the inside on the
same section as piece b.
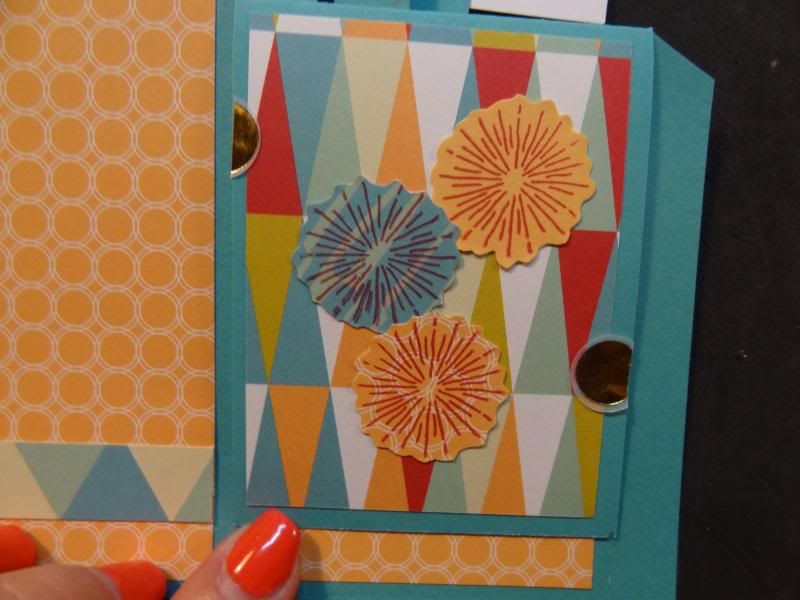


11. Adhere decorations to stamped strips and adhere as
desired to support strips, using foam tape to add additional dimension. Remember to keep decorations INSIDE THE
FOLDED CARD AREA! You can see Piece A in this last photo.