Welcome to week 3 of the Artbooking in August blog hop. Whew, we have had a lot of wonderful, inspiring projects in the past 2 weeks and this week is just adding to the inspiration. I hope you have enjoyed everything you have seen so far. And we still have one more week to go.
If you have come from Lisa's blog, you are on the right track. If you get lost on the way around the hop check Adeline's blog for the complete listing.
My contribution for this week is a mini-album.
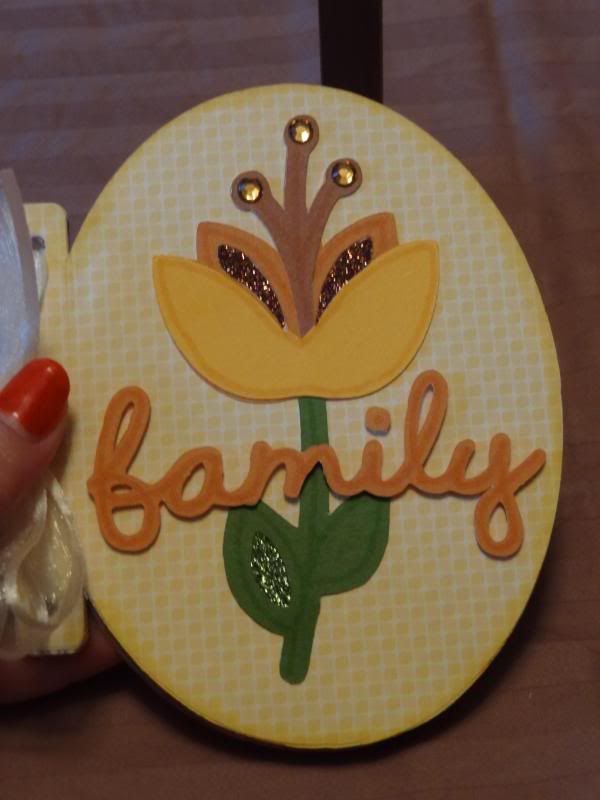
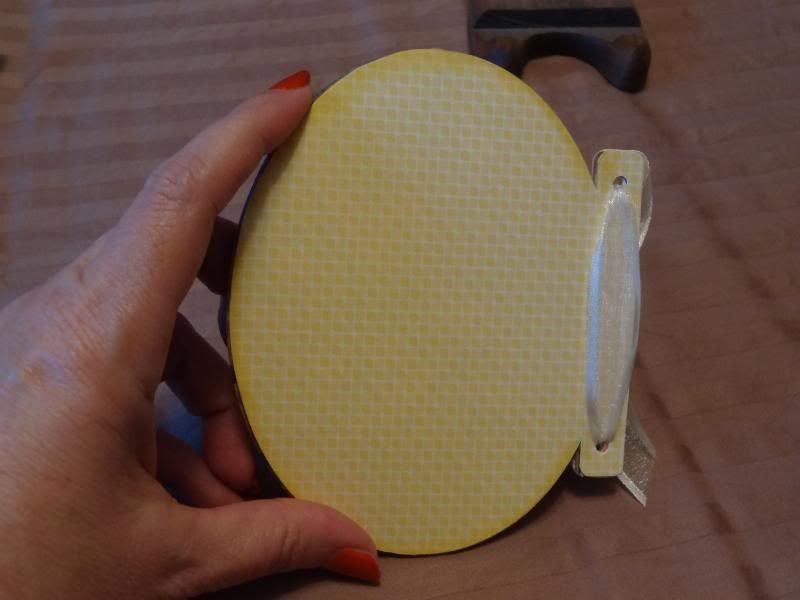
Wait a dog-gone minute, you are saying, there isn't any oval album in Artbooking! You are right! This album shape is actually from the round Halloween mini-book on page 54 (Photo Mat 1), altered with the use of the Cricut Craft Room. The album is sized to fit a standard A2 envelope (4.25x5.5) but I haven't tried to stuff it in one yet. It is probably too thick, but my intention was to make it mailable, so I intentionally kept to flat embellishments. The foam tape under the word 'family' and the sparkles on the cover are the only place I went 3-D.
I have had the Cricut Design Studio for a very long time and have done a lot with it, reshaping, welding, and combining images to make my own designs. But ProvoCraft (the people that make the Cricut) have decided not to support this rather old software any longer. In fact my new Expression 2 machine doesn't even recognize it. So I have begun to explore the CricutCraft Room (CCR.) This is my first project using it and it was quite easy. The flower cut and the word 'family' are predesigned images straight from cartridge, sized to fit my album. I cut the flower 4 times, and cut and pieced them together. I added Glitter paper from the green (Z1847) and brown packs (Z1830) in the cutout areas and some Sparkles from the Brown and Tan Assortment (Z1753.) Everything is outlined using our Exclusive Inks alcohol based markers.
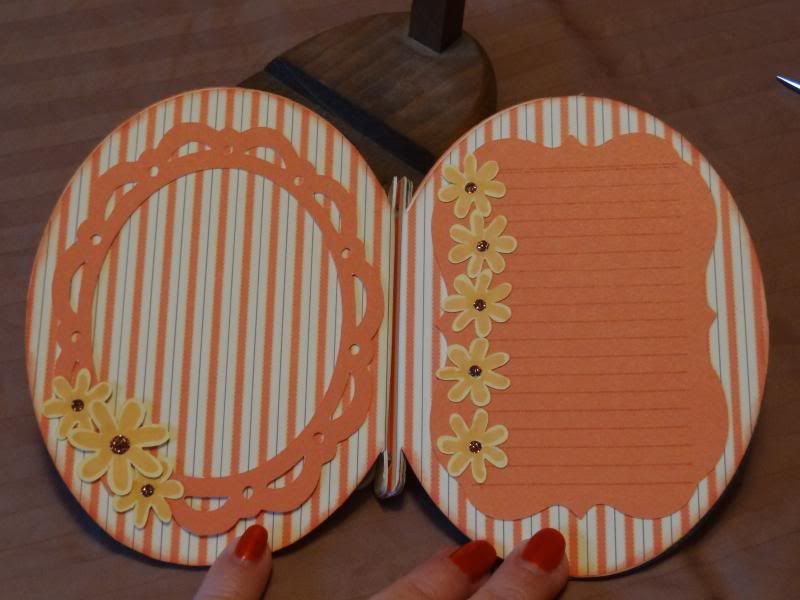
I think I am going to like using the various fancy frames in Artbooking. I resized 2 of them to fit my little album. The journaling lines on the right hand page use the notebook paper stamp from the stamp sets that come in the Artbooking package. I covered the vertical line that makes it look like notebook paper with flowers from the Artiste cartridge..
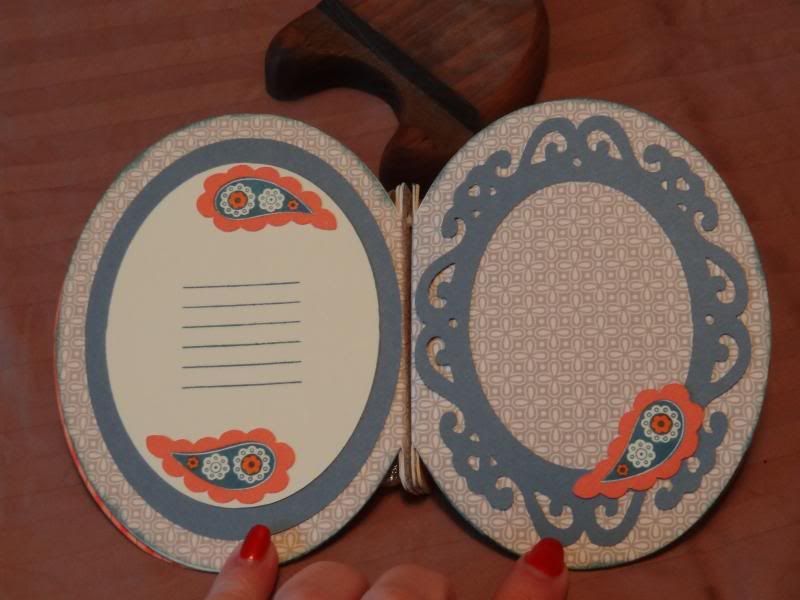
The paisley stamp is from Paisley Perfect C1556. The Sunset frame for the paisleys is from the Artiste cartridge (Z1790) - page 43 (shift, 1.75 inches)
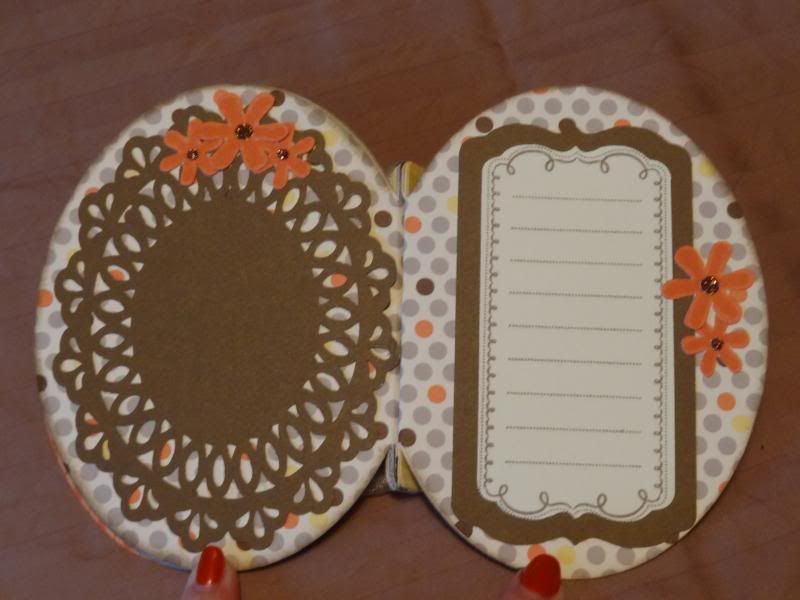
I hid the inner most cuts from this doily image (one of the functions in the CCR) to turn it into more of a frame.This journaling spot is from the Artbooking stamp sets.
Each page in this little album was cut from Colonial White Cardstock, then cut again from the Babycakes B&T so each page is comprised of 2 B&T layers and one cardstock layer making it a very sturdy book. The ribbon is retired CTMH.
Now hop on over to Heather's blog to continue on your adventure. And be sure to come back next week for an easy project that I think will be very useful for a lot of us.




This is wonderful! I love CCR and the more I play in it, the more I love it. I love your tip about making the paper thicker as I feel an album should sometimes be more sturdy! TFS
ReplyDeleteWow, gorgeous!!!
ReplyDeleteVery pretty. Love the front cover.
ReplyDeleteGORGEOUS!!! Love the cameo look!
ReplyDeleteCute
ReplyDeleteVery impressive work! I like the layered B&T plus cardstock idea and I am going to have to play in CCR more, I can tell.
ReplyDelete