Sunday, August 25, 2013

Artbooking in August 8/26


Welcome to week 4, the last week of Artbooking in August.  Not only does that mean our blog hop is drawing to a close, but the month of August is just about gone, too.  It is almost trite to say it, but where has the time flown? 

If you came here from Lisa's blog,  you are on the right track.   
If you get lost, there is a complete list of participants on Adeline's blog.

Last week there were a lot of examples using the Halloween mini-album, including mine.  Here is another simple use for those Halloween pages.  I cut the desired page at 3 inches and used my Cropodile to enlarge the holes.  Some simple embellishments and they were ready to be slipped on some sweet treats.  I used a bit of Scotch tape to secure them.  


Now hop on over to  Heather's blog to see some more Artbooking goodies.


Sunday, August 18, 2013

Artbooking in August 8/19


Welcome to week 3 of the Artbooking in August blog hop.  Whew, we have had a lot of wonderful, inspiring projects in the past 2 weeks and this week is just adding to the inspiration.  I hope you have enjoyed everything you have seen so far. And we still have one more week to go. 

If you have come from  Lisa's blog, you are on the right track.  If you get lost on the way around the hop check Adeline's blog for the complete listing.

My contribution for this week is a mini-album.


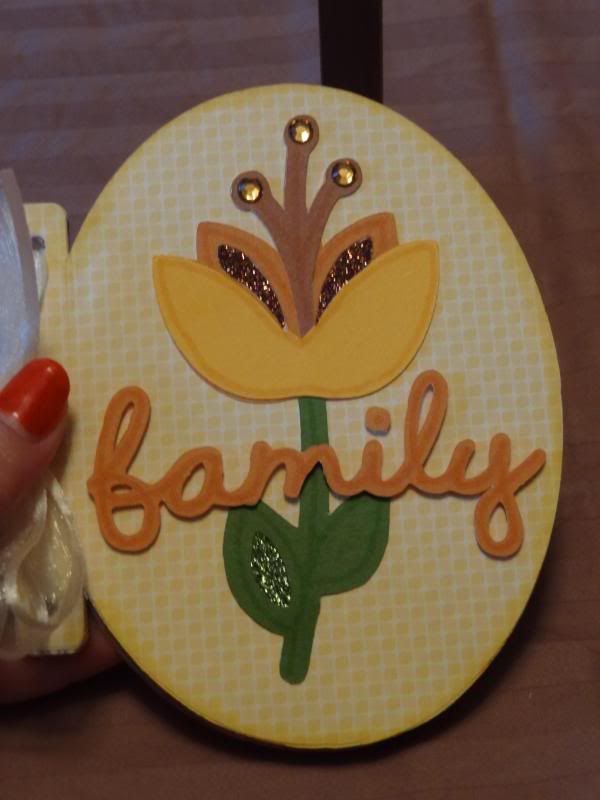
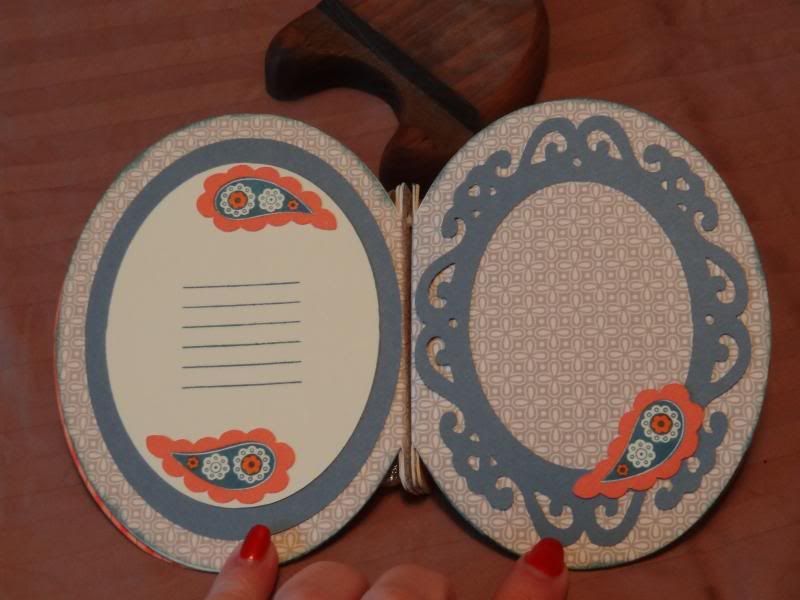
Wait a dog-gone minute, you are saying, there isn't any oval album in Artbooking!  You are right!  This album shape is actually from the round Halloween mini-book on page 54 (Photo Mat 1), altered with the use of the Cricut Craft Room.  The album is sized to fit a standard A2 envelope (4.25x5.5) but I haven't tried to stuff it in one yet.  It is probably too thick, but my intention was to make it mailable, so I intentionally kept to flat embellishments.  The foam tape under the word 'family' and the sparkles on the cover are the only place I went 3-D.

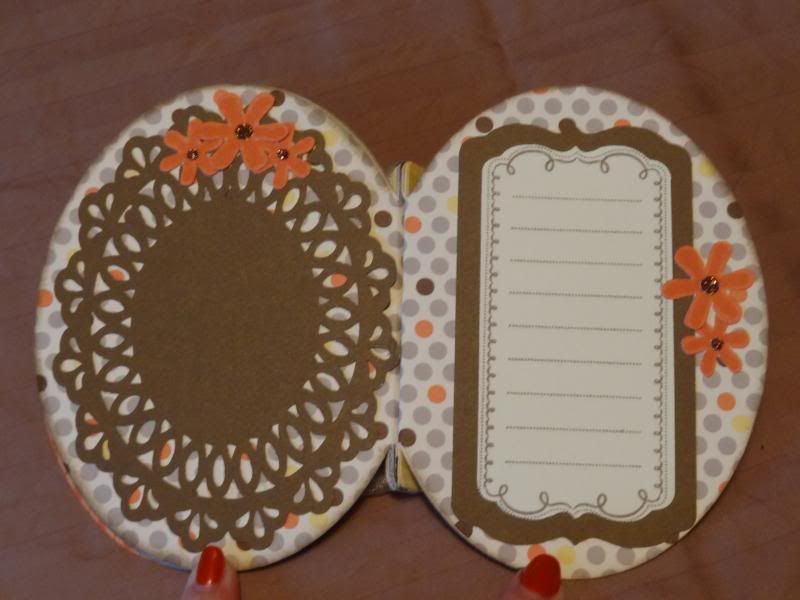
 I have had the Cricut Design Studio for a very long time and have done a lot with it, reshaping, welding, and combining images to make my own designs.  But ProvoCraft (the people that make the Cricut) have decided not to support this rather old software any longer.  In fact my new Expression 2 machine doesn't even recognize it.  So I have begun to explore the CricutCraft Room (CCR.)  This is my first project using it and it was quite easy.  The flower cut and the word 'family' are predesigned images straight from cartridge, sized to fit my album.  I cut the flower 4 times, and cut and pieced them together.  I added Glitter paper from the green (Z1847) and brown packs (Z1830) in the cutout areas and some Sparkles from the Brown and Tan Assortment (Z1753.)  Everything is outlined using our Exclusive Inks alcohol based markers.
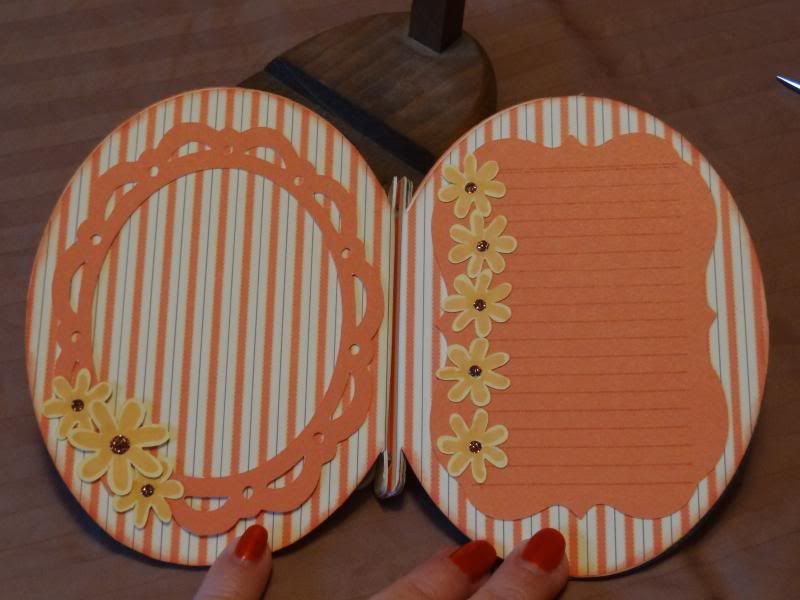

I think I am going to like using the various fancy frames in Artbooking.  I resized 2 of them to fit my little album.  The journaling lines on the right hand page use the notebook paper stamp from the stamp sets that come in the Artbooking package.  I covered the vertical line that makes it look like notebook paper with flowers from the Artiste cartridge..


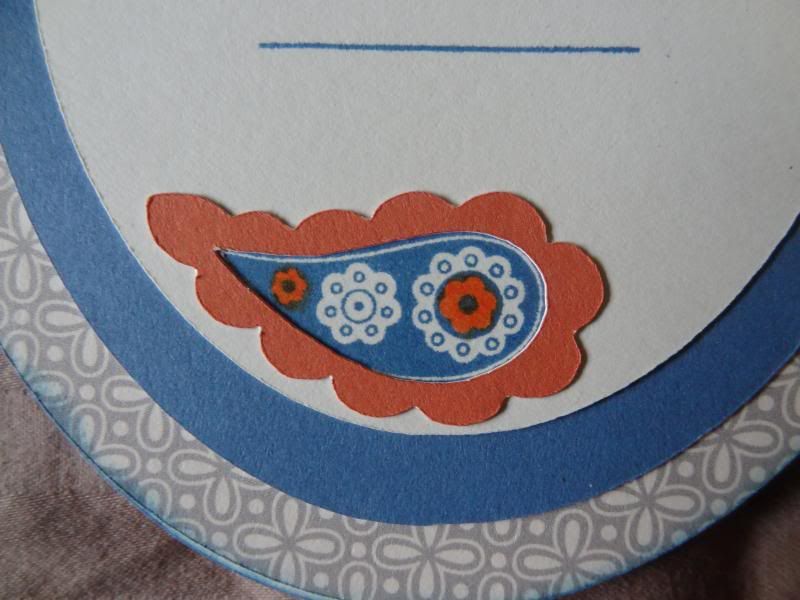
The paisley stamp is from Paisley Perfect C1556.  The Sunset frame for the paisleys is from the Artiste cartridge (Z1790) - page 43 (shift, 1.75 inches)


I hid the inner most cuts from this doily image (one of the functions in the CCR) to turn it into more of a frame.This journaling spot is from the Artbooking stamp sets.


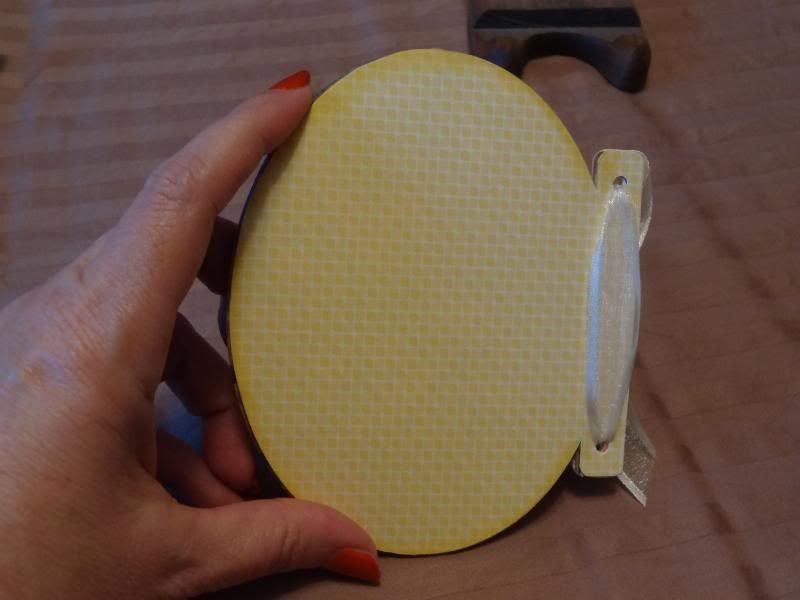
Each page in this little album was cut from Colonial White Cardstock, then cut again from the Babycakes B&T so each page is comprised of 2 B&T layers and one cardstock layer making it a very sturdy book.  The ribbon is retired CTMH.

Now hop on over to Heather's blog to continue on your adventure. And be sure to come back next week for an easy project that I think will be very useful for a lot of us.



Sunday, August 11, 2013

Artbooking in August 8/12


Welcome to Week #22 of the Artbooking in August Blog Hop.  Last week's artwork was so phenomenal and this week over 35 creative consultants are at it again!

Our challenge was to create 4 different projects using the Cricut Artbooking cartridge and any CTMH paper pack.  Our mission was to design each of the following:

1. 2 page layout
2. Card
3. Mini Book
4. Home decor or giftable' item

We were able to choose what to make and when to post it.  This week we will add another great design to the challenge and I am sure you are anxious to see what everyone has created.

Remember this is a circular blog hop and if you get lost or confused along the way, the list is posted on Adeline's blog here.

If you have come here from Lisa's blog you are on the right track

Last week Amy Ulen shared her take on the Pajama Party layout (you can see hers and the original design here.)  This week, I want to show you my variation on that design.


I swapped out the Sweet Leaf elements for Topiary and changed the titles (page 66 in the Artbooking handbook.)


I also added some small Flip Flaps (Z1747)


I absolutely LOVE my camera and how I am able to zoom in on the small details.


I hope you are enjoying all the artwork.  This cartridge has so much potential!  Be sure to come back next week,  I will be sharing my mini-album with you.


Your next stop on our bloghop is Heather's blog.


Sunday, August 4, 2013

Artbooking in August - 8/5


 Welcome to the Artbooking in August blog hop.  If you have come from Lisa's blog
http://lisalynn00.blogspot.com, you are on the right path.


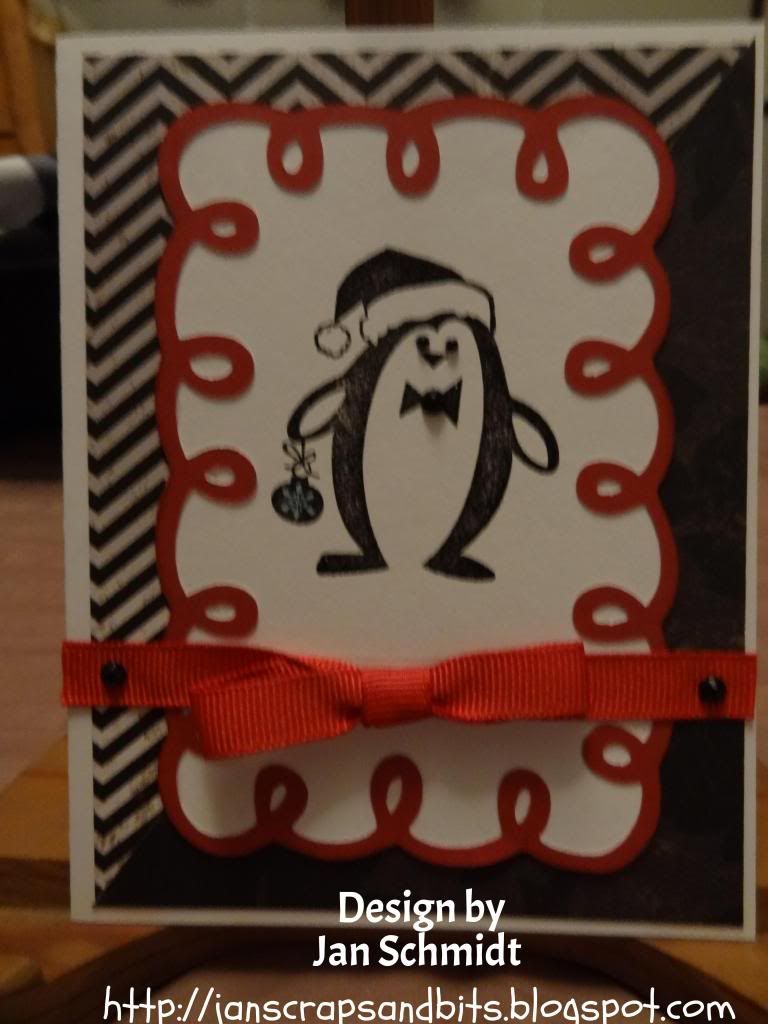
My contribution to today's hop is a card using the 4x6 frame on page 87 of
the Artbooking booklet.  I used real-dial size to shrink it a bit to fit a standard
 A-2 card.  After adhering it to a piece of White Daisy cardstock, I trimmed
the White Daisy to just the size of the frame.  Since the Artbooking cartridge
has been added to the Cricut Craft Room, now I can just 'hide' the inner cuts
and let the Cricut do the cutting work for me.  My card base is from my Spring
/Summer 2013 display board showing a sample of one sheet of the For Always
 paper kit 7165B, still available in the new Autumn/Winter 2013 Idea Book.
 The cute stamped image of a penguin is from the Hostess Rewards stamp set
 C1560 Wintry Wishes.  A bit of (retired) Cranberry ribbon and a couple of
 black sparkles from the Black & Grey Assortment Z1754 and this card
is ready to announce it's 'Warm Winter Wishes' to a special recipient in a few
 months.


Now you can slide on over to Heather's blog http://heatherjanedesign.blogspot.com
for another great Artbooking project.  Remember to come back next Monday
 for another round of Artbooking!


Saturday, August 3, 2013

Almost here

The four Mondays in August are the days for the CTMH Artbooking blog hops.  There will be 40 consultants showing their artwork using the brand new Cricut cartridge.  We will each feature a card, a double scrapbook layout, a mini-album and one other project.   The specific project that we feature on a particular Monday will be up to us.  I have my card, my layout, and my mini-album done.  Only one more project to go.  Here is a sneak peak at my mini-album (hint - it features the Babycakes paper kit.)

One of the new things I learned this week was how to use the Cricut Craft Room.  I have been a long time user of the Cricut Design Studio software so re-sizing Cricut images, welding images together, and using different images together to make new shapes is nothing new to me.  The CCR is pretty much the same thing except that your Cricut machine has to be connected to the computer AND the cmputer has to be connected to the internet the whole time.  Thank goodness that I finally made the time to hook up my new router!  Now all 3 computers in this house can get online.  Anyway this album makes extensive use of the CCR to reshape Artbooking images.  It also uses the CTMH Artiste and Art Philosophy cartridges.